Sunday, August 13, 2017

Remy's Vigil Book - The Planning

Remy Delemontagne de Gascogne has a very late period, very French persona. When I was asked to embroider a vigil book for him I went on a quest for items that fit those two requirements.
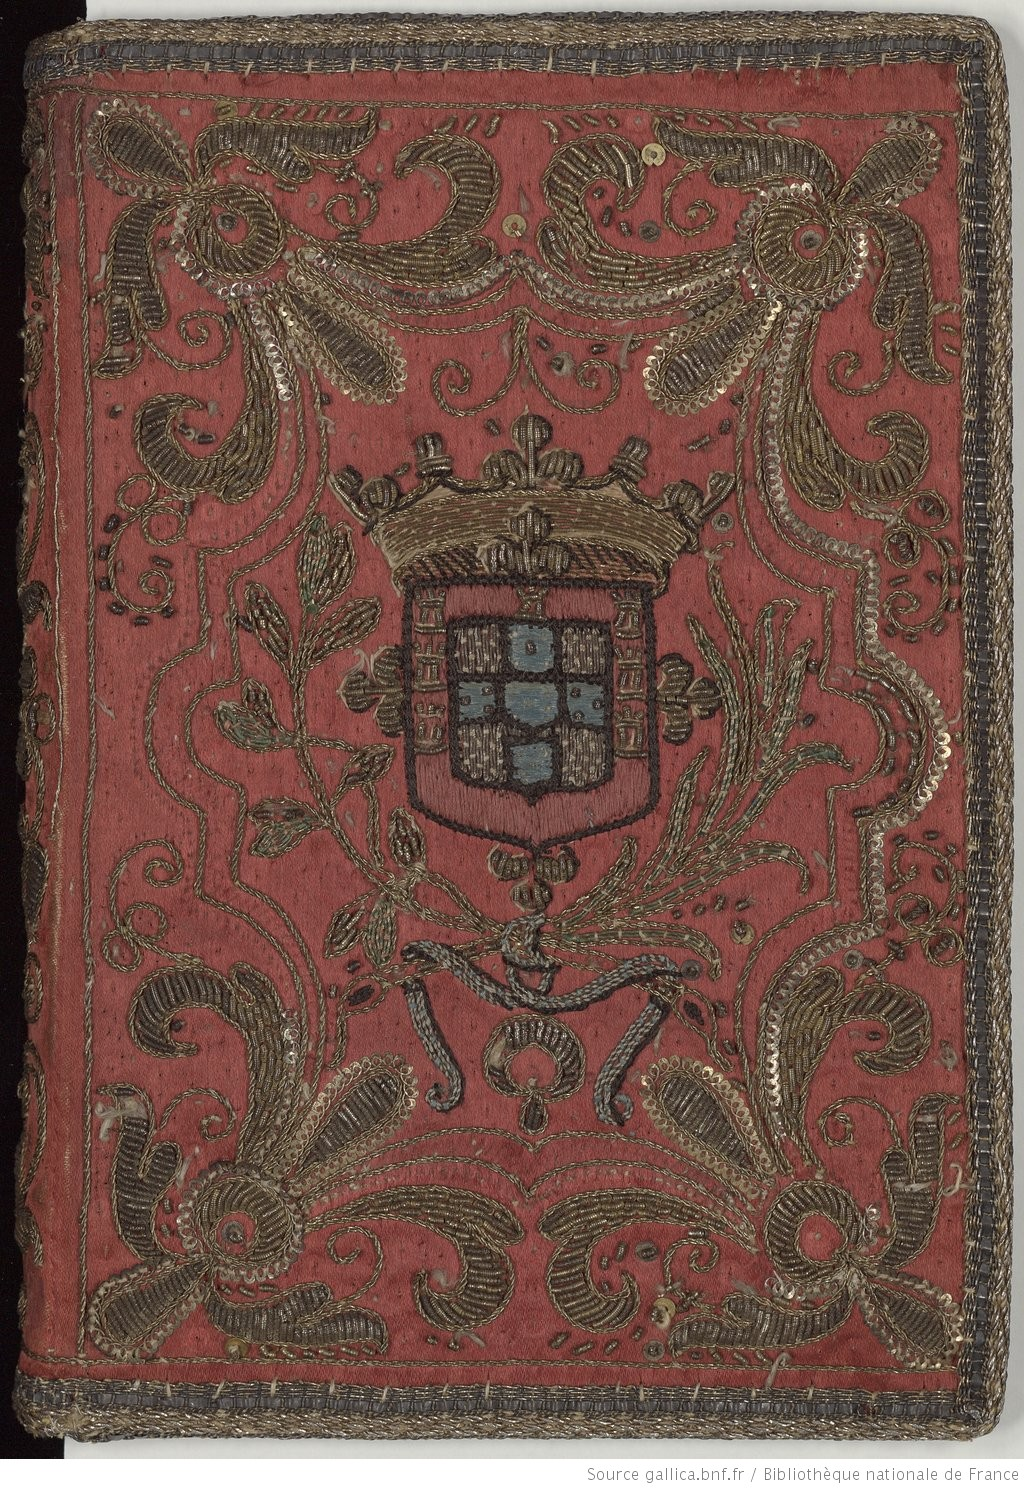
I found that the Library of France had some gorgeous book covers in EXTREMELY high resolutions.
Seriously, go visit. I'll wait.
The three embroidered covers that they had were all appropriate to the Cavalier period that Remy prefers. They're a little late for more common SCA A&S, but the style and materials were not appreciably different.
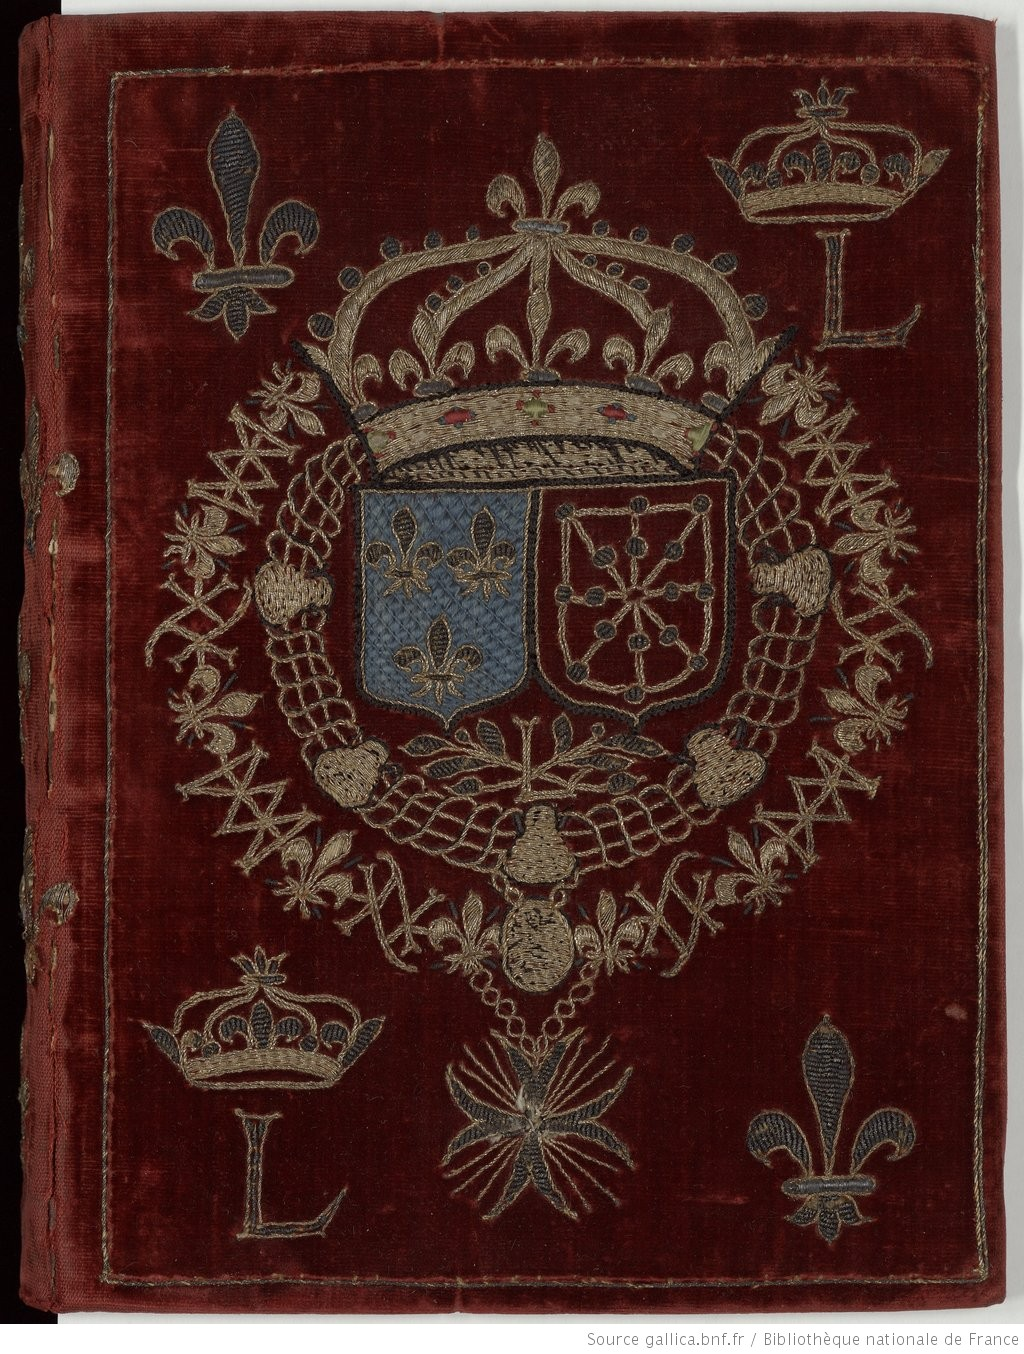
http://reliures.bnf.fr/ark:/12148/cdt9x1j51/?enhttp://reliures.bnf.fr/ark:/12148/cdt9xvg4/?en


http://reliures.bnf.fr/ark:/12148/cdt9x1jmm/?er=2
The purple one to the left is from 1637 ended up being the main source of inspiration. The original design was something that I knew I could add personalization to without too much effort, and without losing the original feel of the piece.

I knew that I needed to add the Order of Defense symbol. I also knew that I wanted to replace the religious imagery in the center with Remy's device. Other ideas that I floated around included the Musketeer symbol, the Carolingian heraldry, and the Carolingian Caliver's eagle. In the end, only the eagle made it into the design.


Both Carolingia and Remy have blue as their primary heraldic color, so I went on a search for blue velvet. I managed to get my hands on some amazing velvet scraps from fabric that had been used to create coronation garb for Thyra II and Edward III.
Similarly to previous velvet based projects, I stretched linen onto my frame and then basted the velvet on top of that so it could be stretched without being crushed. Then I traced the design onto parchment paper and basted that onto the velvet. I knew this would eventually result in the painful process of removing the paper, but it is so much easier to get the initial design down this way.
I tried to place the design so that I could use the selvage edge to make the covering process easier. This mostly worked, but I ended up with a book slightly larger than expected, so the end cover is just a smidge too small, and has a tendency to fall off. This is, luckily, a thing that can be fixed.


Tuesday, June 6, 2017

Kennathimor's Knighting Cloak

At Birka this past year, Kennathimor Gierson was knighted. The Worshipful Company created a cloak for him with wool applique along the bottom. I did one of the simpler symbols - the Northern Army badge. Others included his device and the Lochleven badge. All of the appliques were done using wool felt and thick wool thread.
This post is much belated in the hopes that I would find a good picture of the finished cloak, but unfortunately that is not to be. Instead, have this glimpse of the embroidery in a photo of his buffet.
Duchess Thyra was nice enough to provide me with a good picture of the cloak, as displayed by Cassandra Grey!
Displaying 20170116_203825.jpg
Picture by Thyra Eiriksdotter

Monday, March 6, 2017

Queen's Order of Courtesy Glove

There was a call put out to the East Kingdom populace for more award medallions. Our royals have had a low stock on several awards for quite some time now.
One of the awards they needed more of was the Queen's Order of Courtesy. It happens to be particularly suited to embroidery, and so I set out to make one.


I embroidered the rose on linen using flat silk, mostly in satin stitch. I then appliqued the rose onto a white glove, and outlined it with silver passing thread.
I gave it to the Queen at K&S A&S and Bardic, and I think it went out in court that day!
More QoC gloves are in my future, I'm sure.


Wednesday, February 22, 2017

Malocchio's MoD Glove

This is the second set of MoD gloves that I'll have made. I was very proud of the first set, but this pair was going to be very different for three reasons:
 - Malocchio wanted gloves he could fight in, when the time was right. Goldwork and silk shading doesn't lend itself to that.
 - Malocchio's girlfriend Jen was helping me with this set. We live a couple hours apart and she isn't exactly full of free time.
 - I also didn't have the months of time to devote to the gloves before the elevation. Luckily reasons 1 and 2 align well with this problem!

Jen did the design work on the gloves. We went back and forth with several options before settling on this design, with the MoD symbol on the top of the cuff and the sleepy lion on the bottom:
Then, of course, this languished for a few weeks. As the days ticked by I slowly removed aspects of the design from my mental equation - goodbye, sun. Goodbye lion. Goodbye to the neat designs around the medallion.
Luckily, I had planned for this. Each major aspect was to be embroidered on gold linen and then appliqued onto the glove. Which meant that we could even add the lion and other decoration later if we wanted to.
Turns out I sure didn't take progress pictures of this one.
Anyway, Jen and I met over the Christmas break to exchange supplies and have a tracing party. That border is pretty great and also a pain to get onto fabric in any way.

She took the two borders away to embroider them. I took away the two medallions. What we didn't think of was that I would really need to applique the border on before doing the medallion part, so we didn't get to work in parallel quite as much as planned. Liadan made the cord used around the outside of the appliques. It is reminiscent of the cords the Handsome Boys use to denote their Handsome Boy status, and also does a fine job of covering up any sins in my applique.

Despite the assorted delays in the process I was only sewing for maybe an hour on the day of the elevation, so that's much improved from previous projects. The other glove has a long was to go, but we'll get there.

Tuesday, February 21, 2017

Malocchio's Order of Defense Elevation

At the East Kingdom A&S and Bardic Champions event an elevation that was near and dear to my heart occurred.
Lottieri Malocchio is my for-reals brother, and also was my cadet brother. And I was extremely excited for his elevation to the Order of Defense.

I had a lot of awesome people help me out on the planning and execution of the vigil and regalia.
The outfit, the cloak, the collar, the vigil book. So many banners. It was amazing.


Closeup of black and goldworked cuffs


Unfortunately, I didn't think to take a picture of his actual vigil room, festooned with banners.
                                Closeup of the collar


I made the glove, and so you'll have to wait for another post on that particular piece of regalia.

Thank you to everyone who helped by making things or running errands or bringing food. Thanks especially to Remy Delemontagne de Gascogne, Llewellyn Walsh, Catalina de Valencia, Liadan ingen Chineada, Sorcha Dhocair, Isabel del Okes, Katerina Folconer de Lanark, and Cecily O'Donell for their skills, time, and effort making the whole day come together.

Photo by Akamatsu Katsumoto

Thursday, January 5, 2017

Pelican Hood


A lovely individual (Sabina Luttrell) was getting her Pelican at Yule in the Barony of Bergental. Unfortunately, through the complicated scheduling intricacies that are the SCA, there were only two and a half weeks to get everything ready.
So I was asked if I could embroider a Pelican onto a hood in a week.
Challenge accepted! (I did think about it first. Thanksgiving break factored into the success an awful lot.)

pienza-cope-orphreyI was asked a couple weeks beforehand - the short time frame was because the hood still needed to be made. While waiting for the hood, I did some research.
My only guidance was 14th century (and the time frame). I found Honor Before Victory had made an amazing maintenance cap, and took much of my inspiration from there.
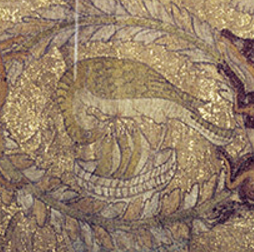
They had based their pelican on the Pienza Cope, which has a tiny Pelican along the top edge. The cope is estimated to have been made in the early 14th century, and the Pelican didn't have spread wings, making it much simpler to embroider. Perfect!

The 14th century to me is the age of Opus Anglicanum, and I wanted to draw from that. Opus Anglicanum is, in large part, about the fineness and detail of the work, which of course I wasn't going to be getting on this piece, but it is also strongly associated with gold work and split stitch shading.
From the Textile Research Center

From the Index of Christian Art
Knowing from past experience that any goldwork was also going to be beyond my time frame, I set to work on split stitching the entire pelican, as well as her children.  I used three strands of Splendor throughout the piece.
 As for the nest, I couldn't decide what sort of stitches were used to get the very subtle basket weave effect. Other pelicans I had found in my initial research had much stronger patterns in the nest and so I went with one of those instead (from the Cope of the Passion).
I found that I didn't have as many shades of brown as I would have liked for the nest, and so the inside is two strands of brown and one strand of black. I'm not certain that this is appropriate to the period.

In the end, I didn't have time to completely fill in the nest, but I actually quite like how the darker lines look on the hood. I put the last stitch into the hood after the elevation ceremony had already started, so I was very glad I'd had the foresight to only fill in every other row!

In this picture you can see the entire hood, made by Lord Maurin, although only a peek of the embroidery.
Image may contain: 1 person, sitting and indoor
Photo by Mikjáll bogmaðr


Monday, November 14, 2016

Peerage Cloak - Finished

It only took a few months.Well. At least it didn't take a full year.
Back in February I started planning a piece that would go on a peerage cloak. The recipient already had the peerage (and two more!), he just wanted to add the Order of Defense symbol to the cloak that displayed his Pelican and Knighthood. He also wanted it to be shiny.
I'd gotten somewhere in April, but as so often happens things came up, and I had taken on a project a bit more time consuming than I expected ( I would never.)

So we swing around the fall, and I decide that this cloak is getting done in time for the Rapier K&Q tournament, which lights a fire under me.

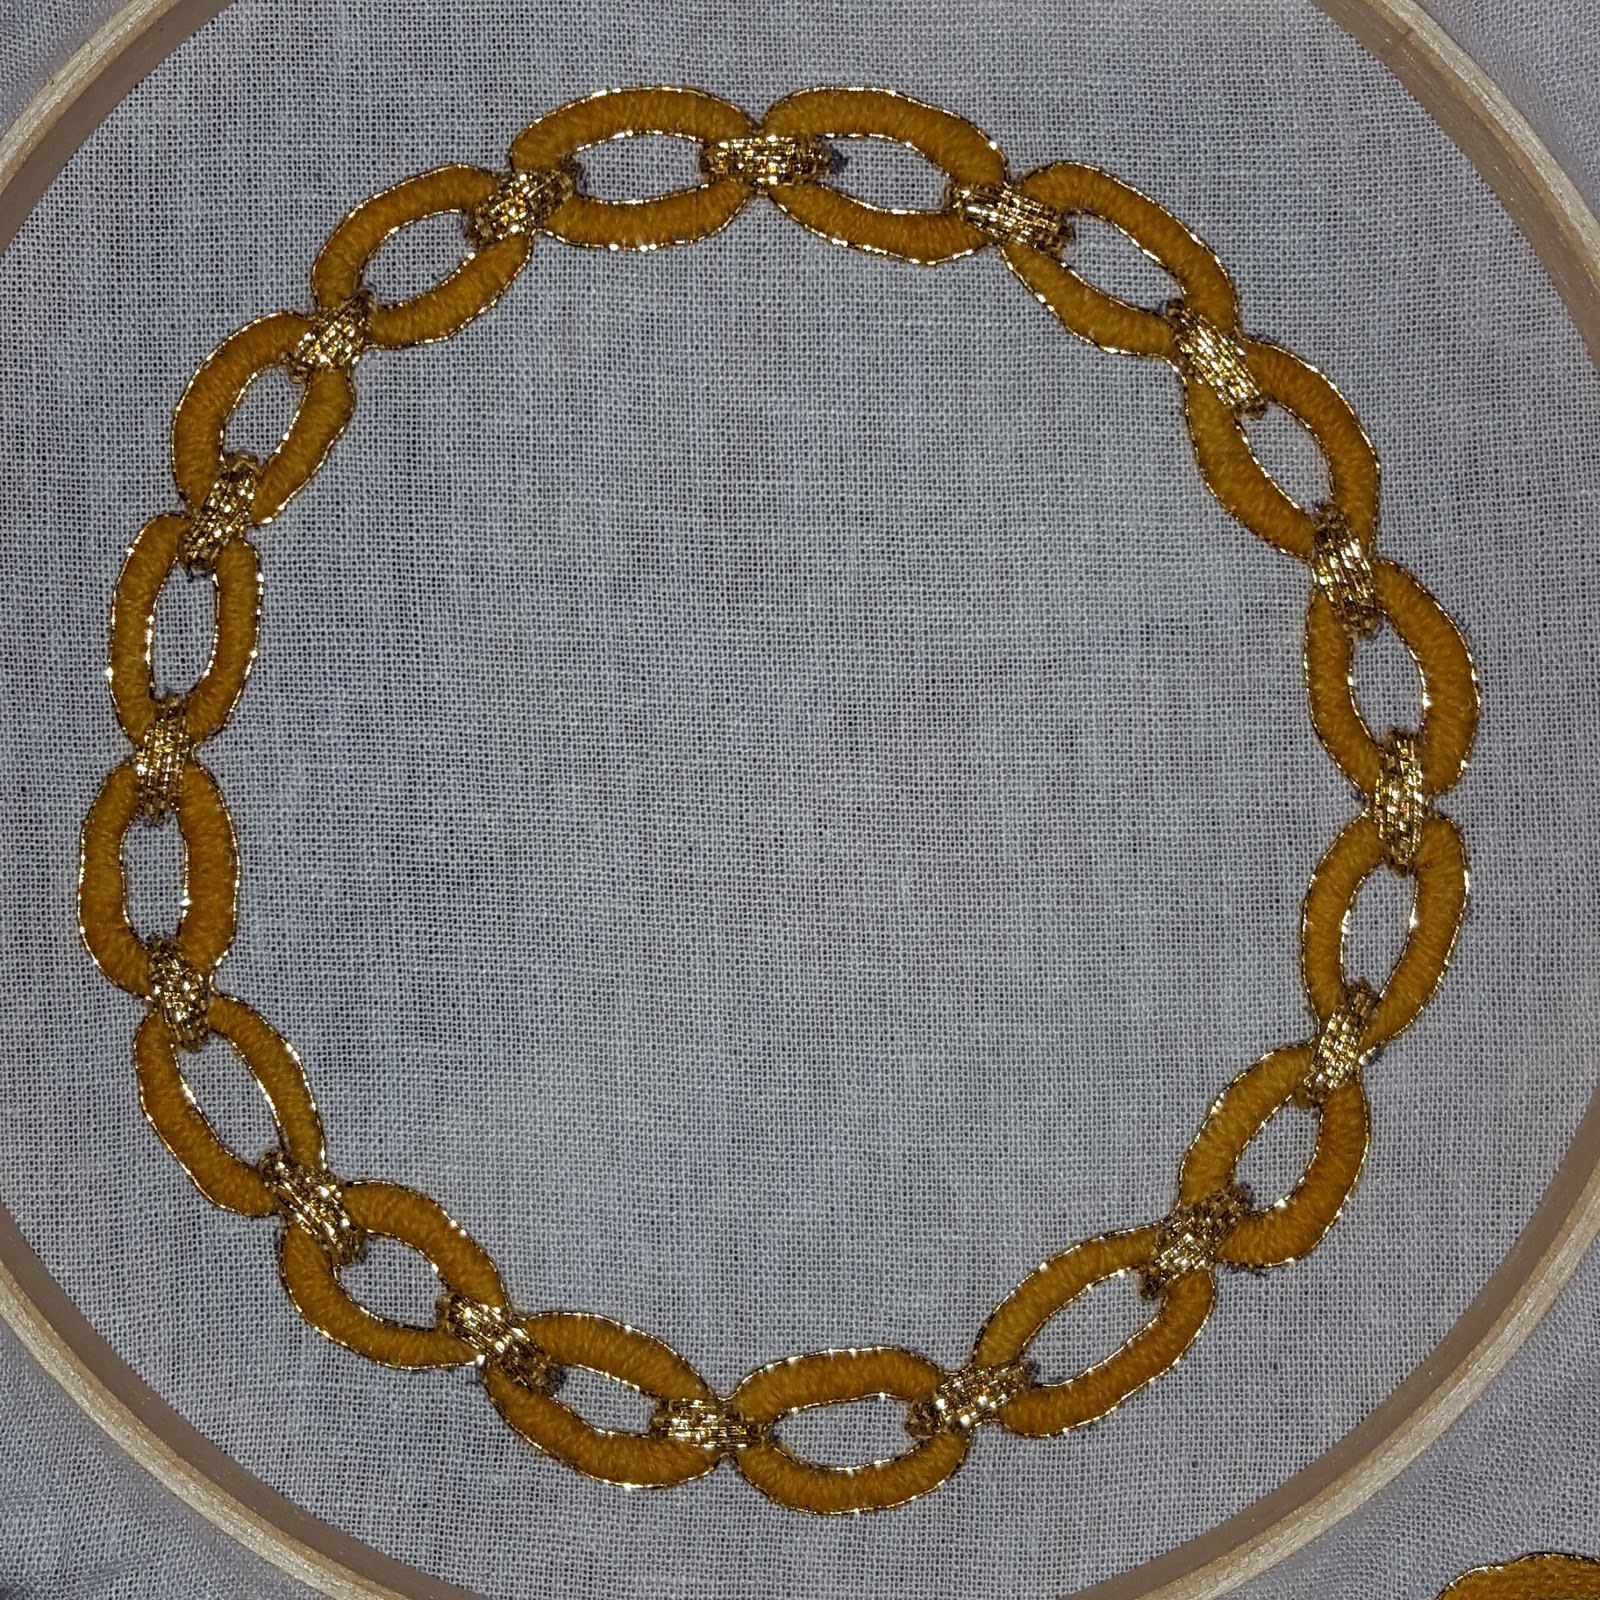
In the last post, so long ago, I had decided how I was going to create the chain. I was still a little worried that the wool would look unfinished next to the gold thread, but once I had the outline in place I think things really came together. And if I had tried to do the whole thing gold I think I would still be cursing about this project sometime next year.

Next I sketched in the swords. Even though my plan was to applique the swords on separately, I wanted to make sure they were the right size, so I just embroidered them directly inside the chain. I left off the extra fiddly details - the cross guards and swept hilts. There was no way I was going to be able to applique something that thin, so those were going on afterwards.
In hindsight, I think I should have just done the swords entirely on the cloak. I was trying to avoid pokey bits on the inside of the cloak as much as possible, and also trying to not carry around 20 lbs of fabric when I could help it, but I don't think it saved me any real time.

At this point I cut everything out with tiny scissors, leaving about a quarter inch of fabric around the edges. Then I spent so much time fray checking the back and tucking in all those edges. (So Period!) Because the edges were so narrow and the linen so fray-y, in that way only linen can be, I didn't trust things to not unravel if only the applique were holding it together.
I think this made the actual applique easier, but I'm not really sure.
The swords were thin enough that they were a real pain, and there wasn't enough embroidered material to fully cover the white on the edges. So in addition to adding the small details, I went around all the borders in a matching red wool. From a distance I don't think you can tell it's there, other than that the lines look much cleaner.
The sword blades are wobblier than I would like, but straighter than some other straight lines I've done in goldwork. Overall, once it's worn, I'm happy with the effect. Trying to take a nice picture of a pile of wool turns out to be kind of difficult.
Of course, I don't have a picture of it being worn, so you'll have to take my word for it for now.

I'm super excited to have this done and in the hands of its owner, and I learned a lot for next time.